Extract filter specimens correctly
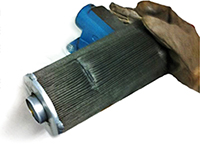
Oil checks can be made with the OELCHECK analysis sets and a sampling pump, or removed cleanly, quickly and simply via a built-in valve in front of the filter. With residue from the filter cartridge, this is a little more intricate because we do not need the complete filter; rather we need a 50mm x 50mm large representative piece of the filter mesh only.
Please do not send us the entire filter in any case.
As a laboratory, we do have the mechanical scope to remove filter mesh. This would also result in additional costs for you for its disposal. You can send the filter mesh of approximately 50mm x 50mm in a pre-paid sample container.
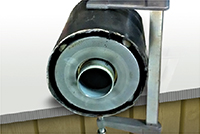
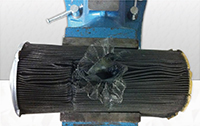
We demonstrate how you can remove a representative piece of filter mesh as an example from a completely enclosed main current filter of a wind energy system (see Instruction for sample preparation for filter residue analyses).
2. Locate the metal filter housing (only if the filter is built into metal housing). First unlock the casing at the flared flange. Open the sheet housing using a corner slider or an iron saw. While doing so avoid a contamination of the filter material.
Note: Wearing protective clothing is strongly advised.
5. Send the material to our laboratory in a pre-paid sample container with "residue analysis" noted on the sample submission form. State the sample number as the reference which the appropriate oil sample will be analysed under.
OELCHECKER Winter 2013, Page 6

![[Translate to "English"] Filtermaterial entnehmen [Translate to "English"] Filtermaterial entnehmen](/fileadmin/wiki-pics/Filterprobe_04.jpg)

