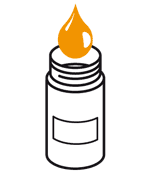
You should take a fluid e.g. oil sample:
The easiest way to take oil samples is to use the OELCHECK sampling pump. This is optimised for use with our sample bottles and can be used as often as you like. All you have to do is change the tube. Using the pump and the tube supplied, shortened to the optimum length, you can draw highly viscous oil directly into the screwed-on OELCHECK sample bottle.
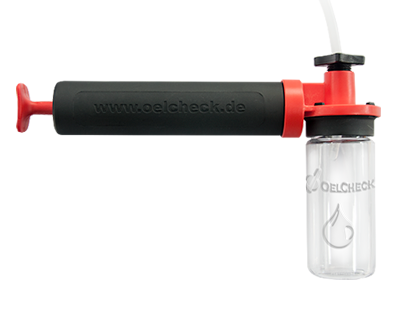
The set for the OELCHECK sampling pump contains the following utensils:
→ You can use the sampling pump several times and simply reorder the sample collection tube (consumable product) if required.
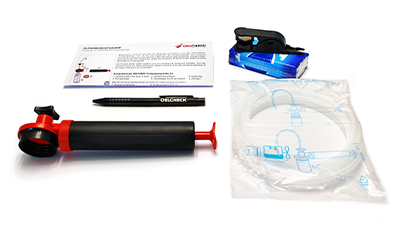
The oil sampling kit contains the following utensils:
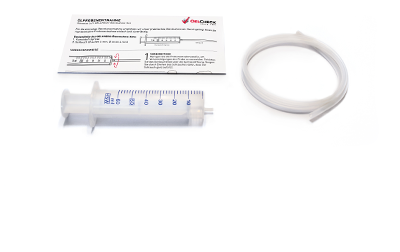
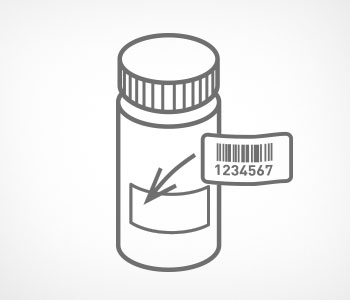
Remove the self-adhesive lab number from the sample information form and stick this onto the sample container. This will allow the sample container to be clearly assigned to the sample information form.
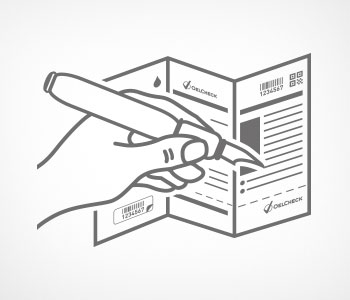
Please provide as much information as possible on the data requested. The more information about the machine and the oil used is available during the assessment, the more accurately our tribologists can carry out the diagnosis.
The sample information form enclosed with the all-inclusive analysis kit contains all the essential information we need to assess a sample. If you have entered your data online via LAB.REPORT, you do NOT need to fill in the sample information sheet by hand.
In this case, simply check the box “Sample details entered online”. Add the sample name and, if applicable, the UPS tracking # to the sample document.
Then insert the sample information form into the outside window pocket after you have detached your sample document.
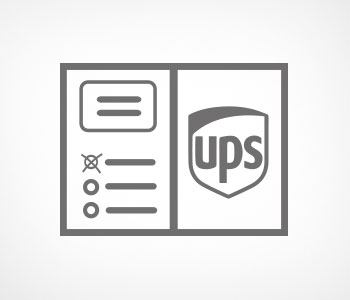
We recommend using the delivery pouch enclosed with every all-in-one analysis kit to send the sample. This is made of oil-tight, recyclable plastic and may be used for up to four samples. The self-adhesive seal makes the delivery pouch leakproof. To avoid the sample information form being stained with oil, this is placed in a transparent outer window pocket.
![[Translate to "English"] Wichtiger Hinweis zur Probenbezeichnung [Translate to "English"] Wichtiger Hinweis zur Probenbezeichnung](/fileadmin/user_upload/img/Doktor-achtung.png)
You should always clearly identify your oil sample for the analysis. This requires that both – the unit (e.g. machine name, inventory no., serial no., vehicle registration number) and the component or part (e.g. hydraulics, gearbox, engine) – are named. If you send in further samples from the same source, you should always use exactly the same Unit ID (machine and component).
This is the only way to ensure that the sample data is always correctly assigned in our database and that the oil and machine condition can be viewed in trends and interpreted accordingly. Our OELCHECK-App makes it even easier to assign the sample, as the unit in question is automatically recognized each time.
![[Translate to "English"] Dieseltank [Translate to "English"] Dieseltank](/fileadmin/_processed_/9/a/csm_dieseltank_f5d10e5cc6.jpg)
Bacterial growth takes place in particular at the boundary layer between the fuel and a possible water phase. The bacteria feed mainly on the biodiesel component, which can be contained in fuel with up to 7% (V/V) according to EN 590.
For this reason, the sample for the contamination test should preferably be taken near the bottom and not on the surface of the tank. The deeper the sample is taken, the greater the probability that water or even biosludge will be drawn in. This is necessary for a meaningful test result.
Incorrectly drawn samples lead to a false negative test result!
Find out how to take your sample correctly in these instructions.
Sampling instructions for contamination